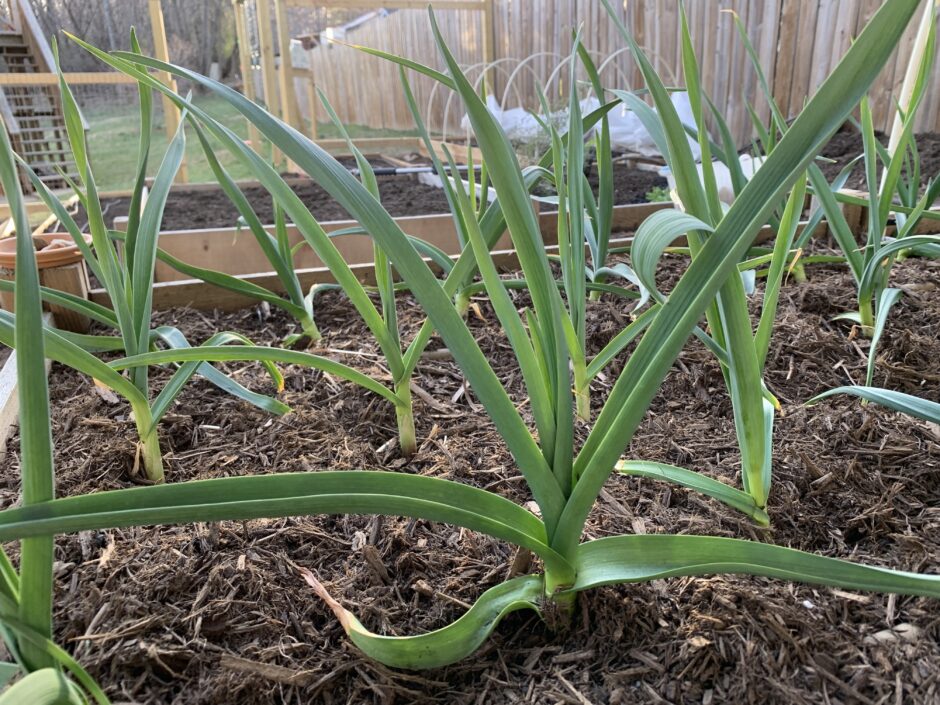
Garlic is very easy and rewarding to grow. You just need a few bulbs and lots of time. Here in Virginia (7A), I planted in October and harvested in June. This was my first time growing garlic and I was pleasantly surprised.
How to grow garlic
- Get organic bulbs and leave intact until planting time. Choose the biggest ones you can find.
- Plant in the fall while there are still warm spells. (For me in 7A, late October or early November are best.)
- Add compost and a little 10-10-10 to prep the bed. I also added some worm castings in the planting holes.
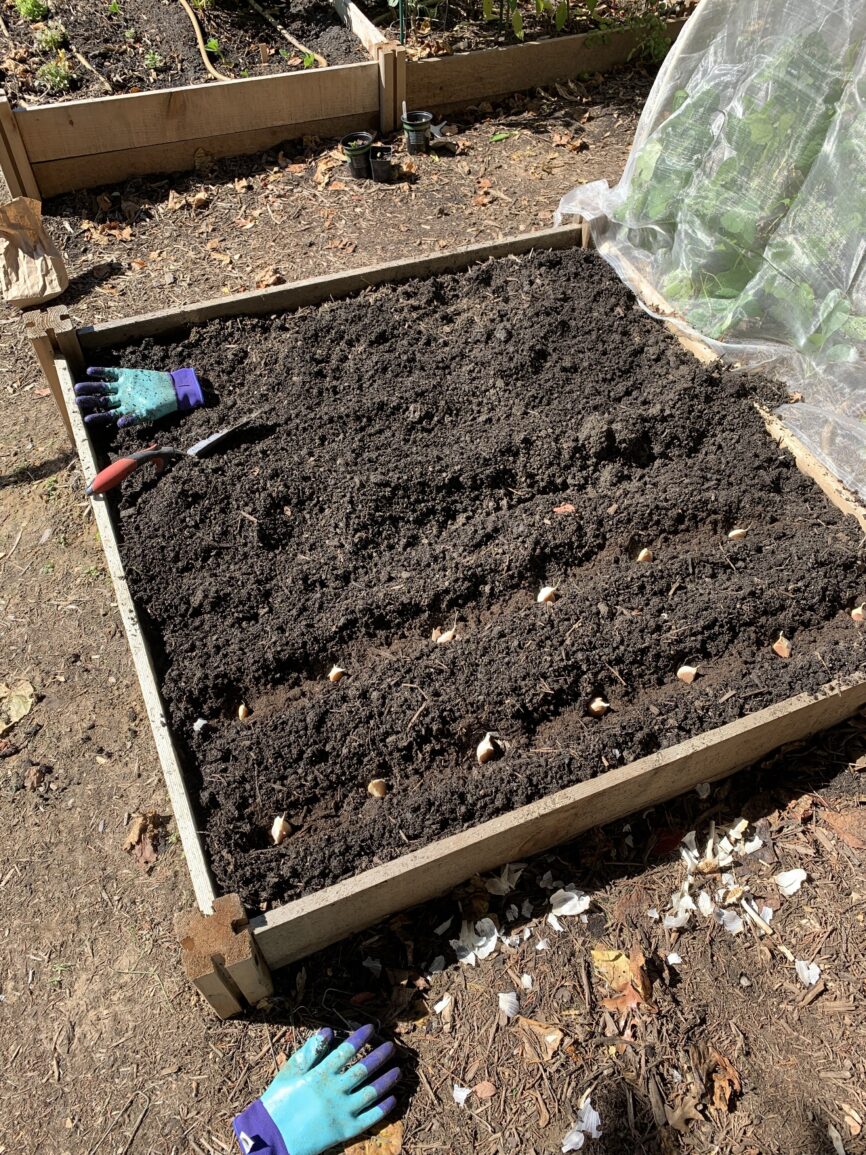
- Break garlic apart into individual cloves taking care not to break the cloves or disturb the papery casing.
- Dig a little trench and then place individual cloves about 5″ apart (do this in rows). Place pointy side up and plant about 2-3″ deep.
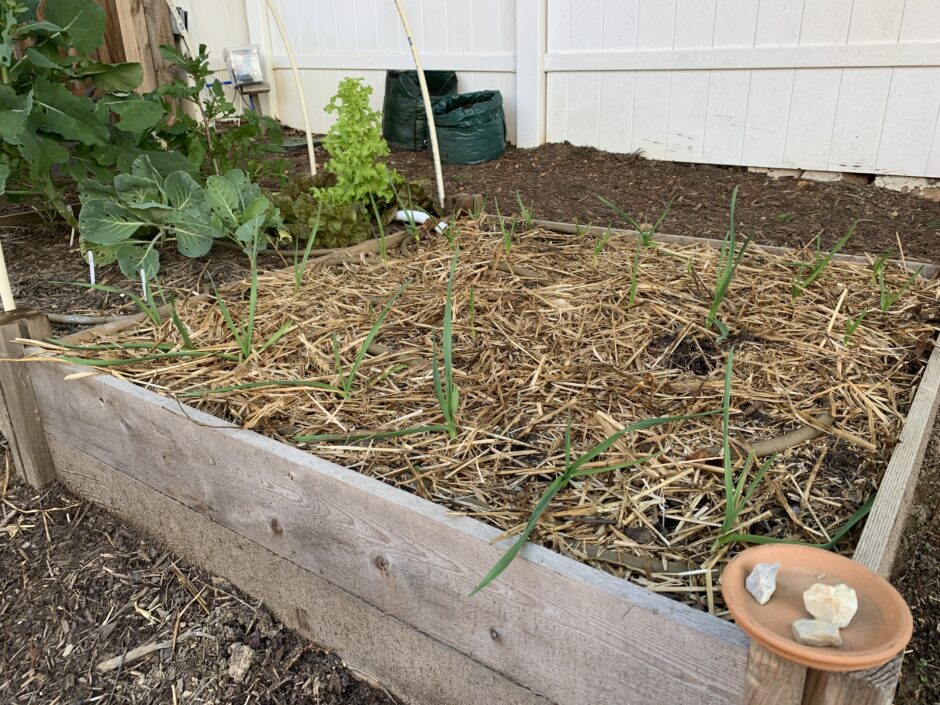
- Mulch bed with straw to keep it warm for the winter.
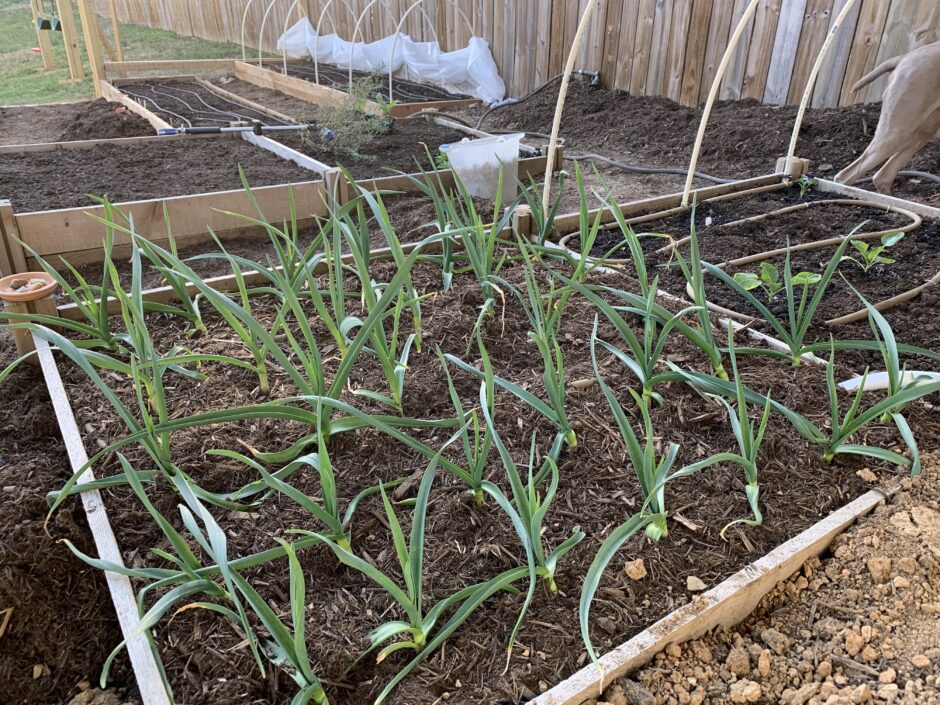
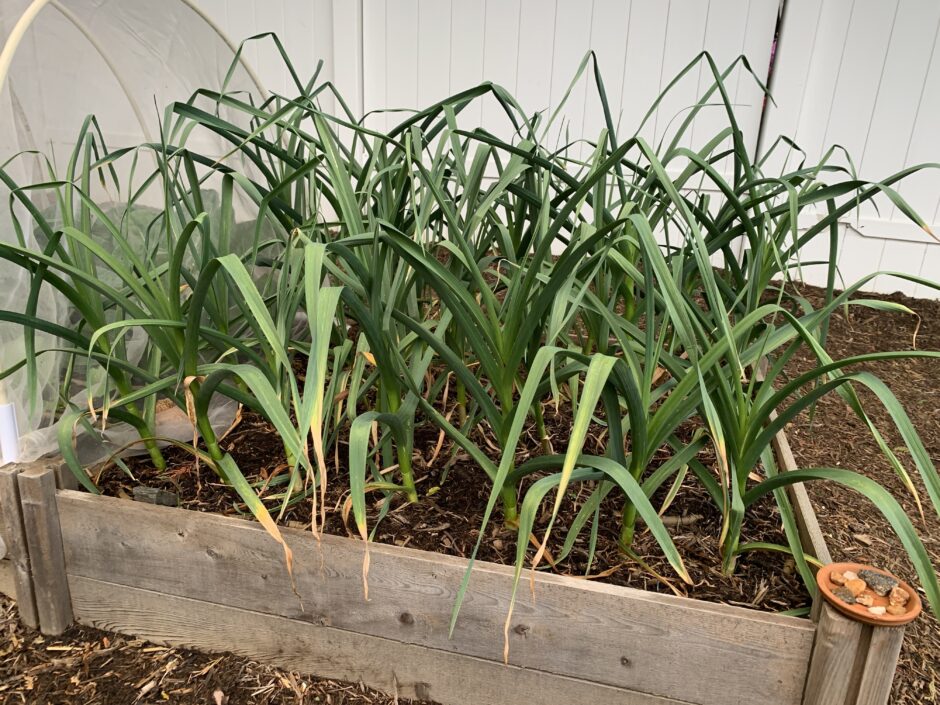
- You will see little plants emerge in the fall and grow before going dormant in Jan/Feb. I stopped watering during the dormant period. In the spring the plants will grow again and you will start watering again.
- Also in spring, you need to fertilize as garlic is a heavy feeder. Use a low nitrogen fertilizer. I used bone meal.
- Once scapes form, cut them off and use them to cook with. Scapes are the curly growths that come from the center of the plant and where it will eventually flower if you don’t remove them. Removing them helps the plant put all of its energy into the bulbs. At this point, do not water the plants any longer as you want the bulbs nice and dry in a few weeks when you harvest.
How to harvest the garlic and prep for curing
- Once the leaves start to yellow and lay down in the summer, it is getting close to time to harvest. One rule of thumb is you can harvest when at least 3 of 7 leaves have yellowed or about 2 weeks after garlic scapes have formed. (Typically for my area, July is the month that you would harvest. However, I pulled mine in mid-June after a test pull looked good and to prevent rotting due to lots of rain in the forecast.)
- Try to harvest when the soil is dry.
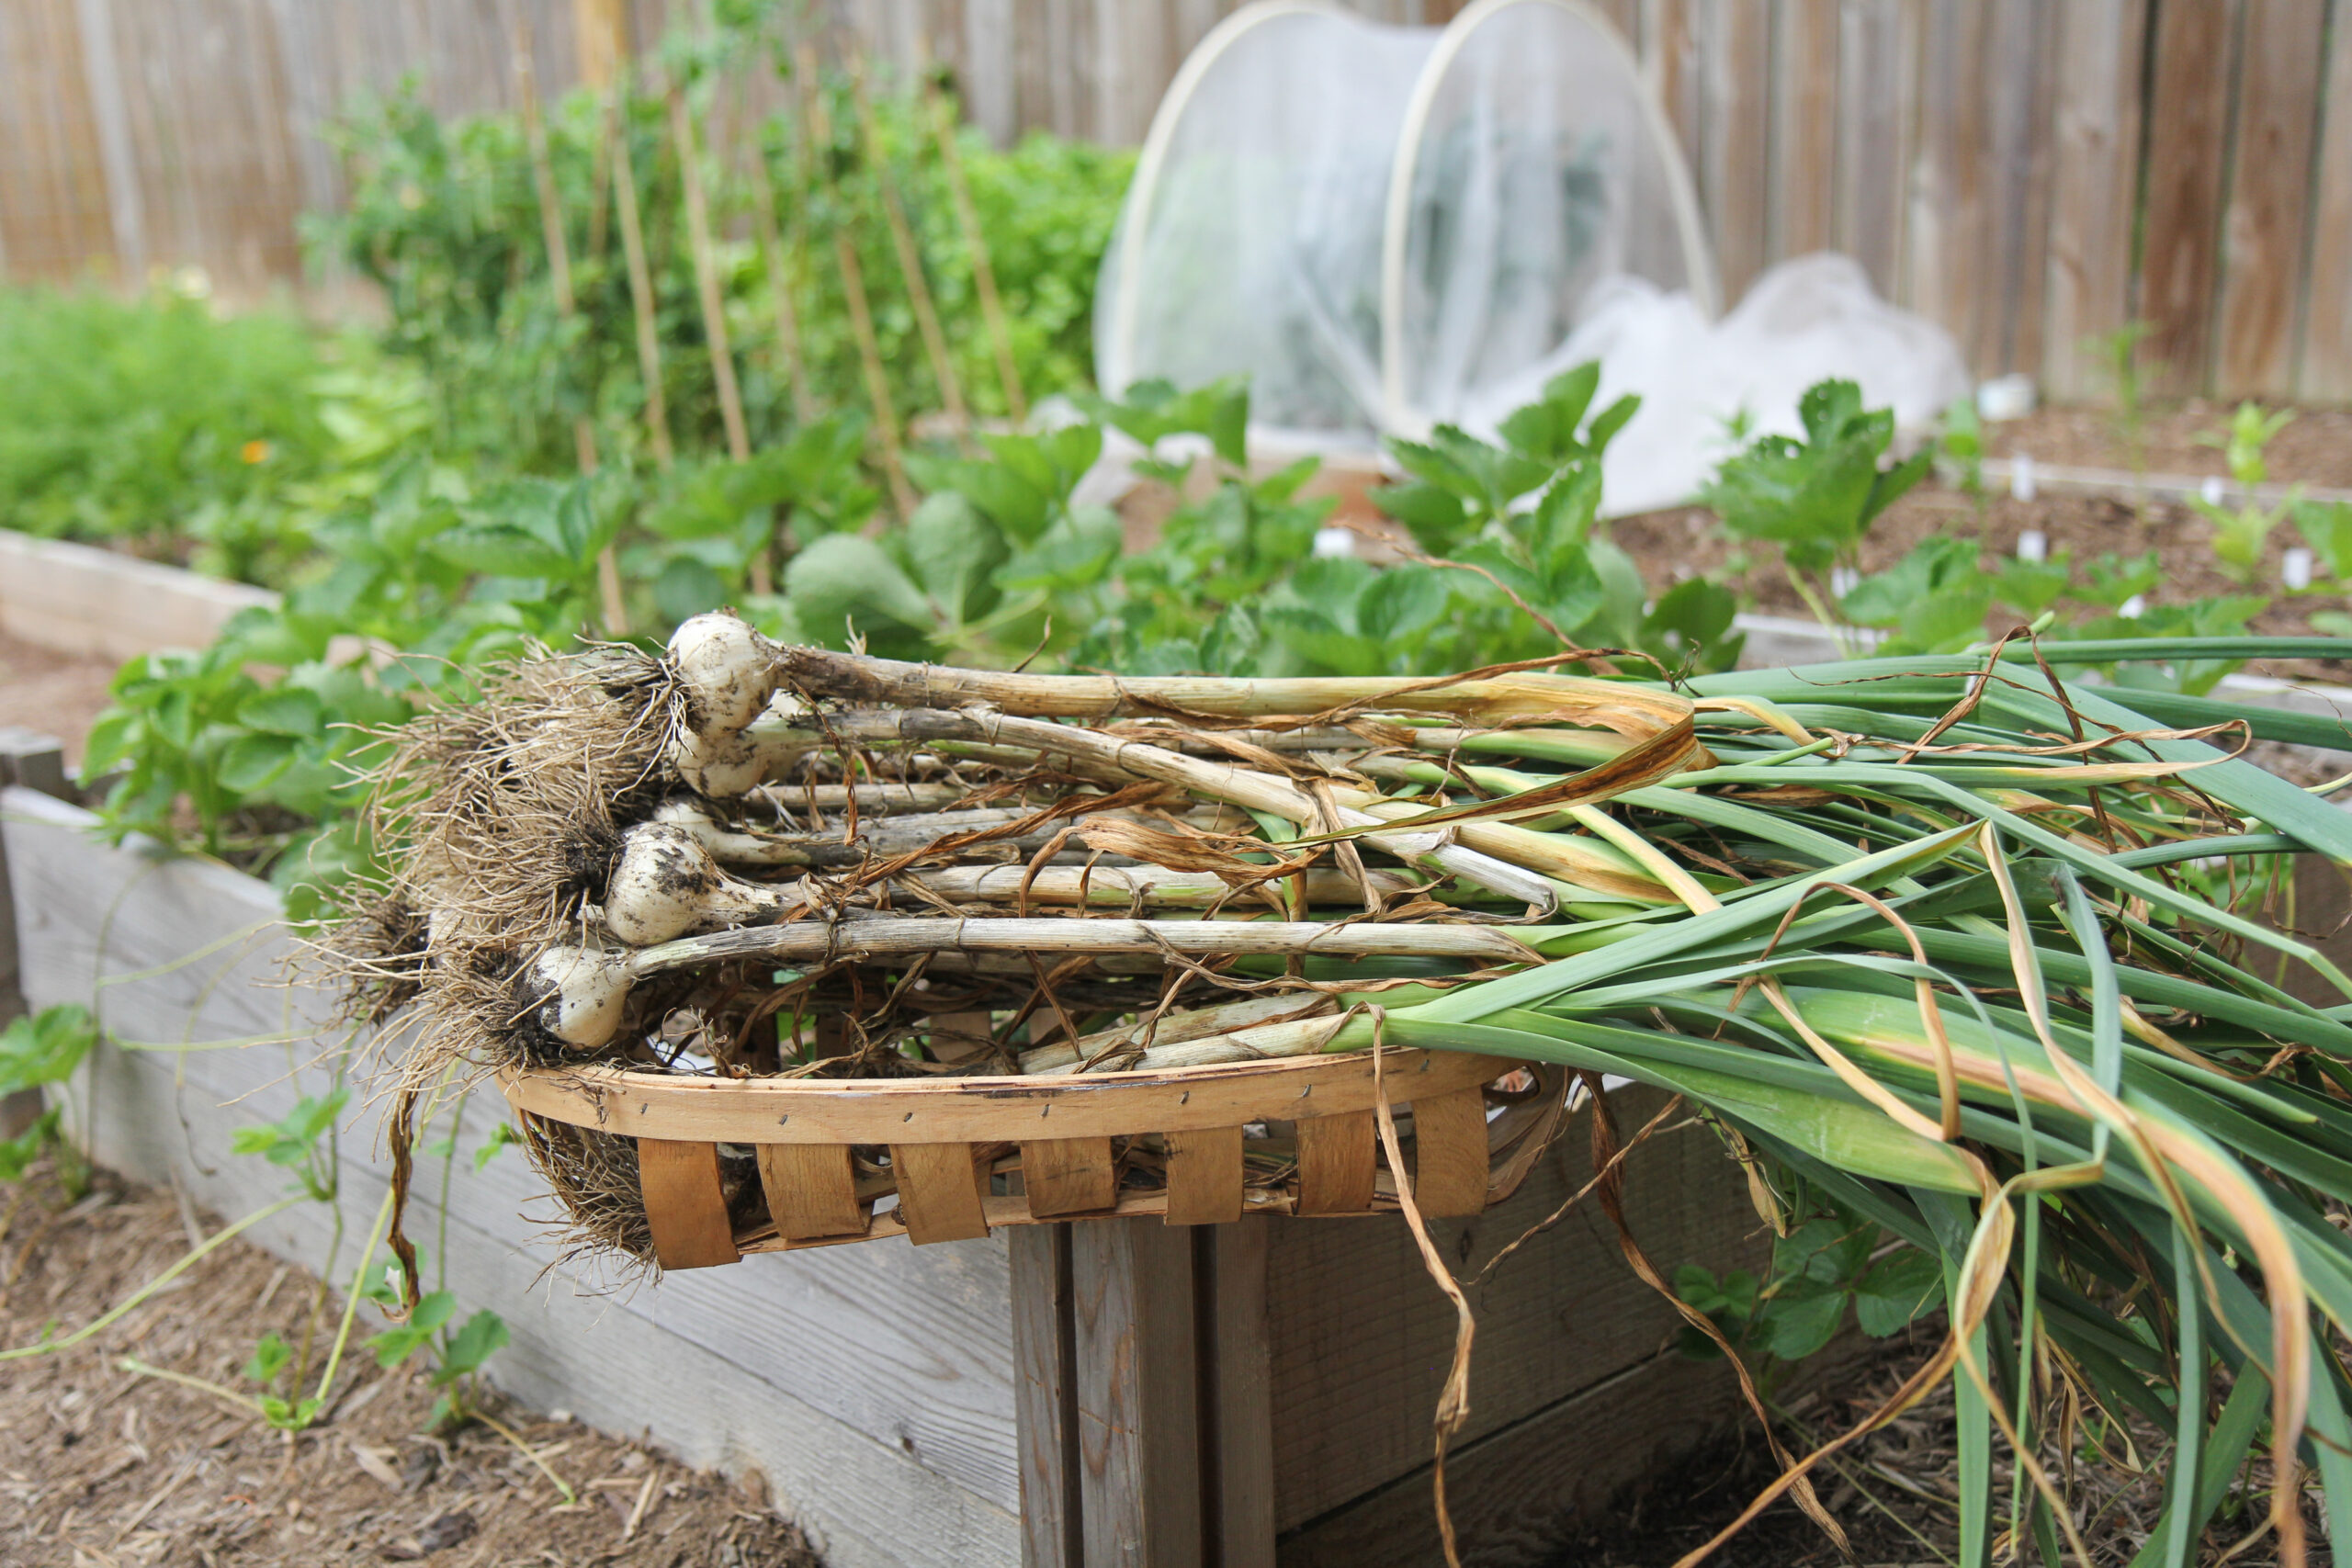
- Scrape away the soil carefully around the bulb and then use a trowel to gently pull it up. Shake as much dirt off as possible. It is not necessary to wash it. In fact, I would be afraid that you could introduce rotting issues.
- Next, tie them in bundles with twine to hang up and cure. Place them in a cool dark place, like a garage and leave them for 3-4 weeks.
How to clean up garlic after curing
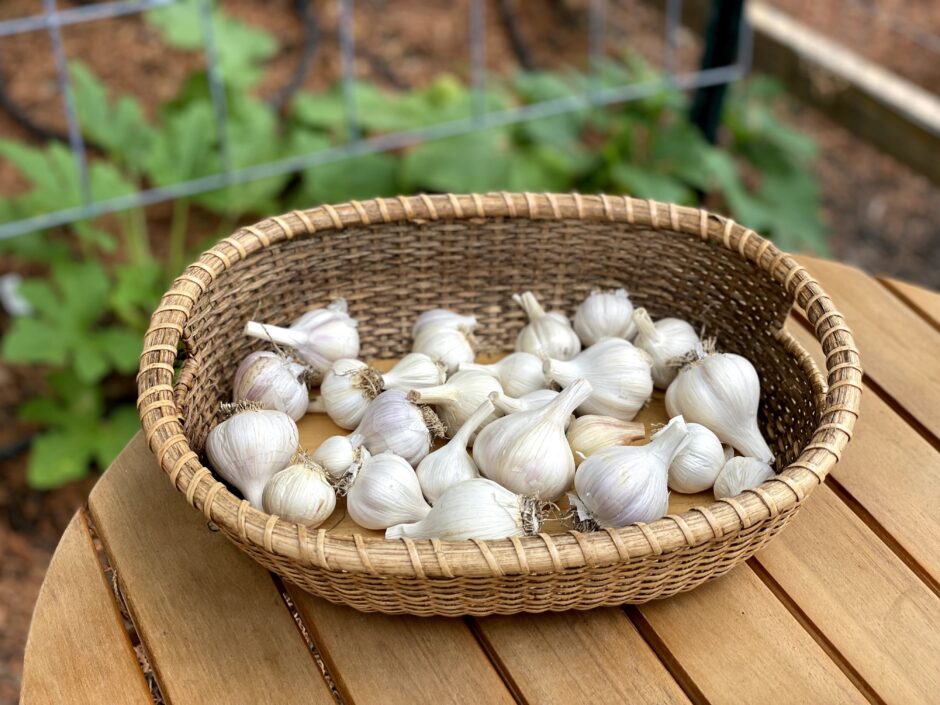
After the garlic is cured, then you want to clean them up for storage. Cut off the tops and the roots. Then, I carefully peel off one papery layer to get all of the dirt off.
Store the cleaned bulbs in a paper bag in a cool dark place.
Garlic Pests
The only real issue I had with pests were onion aphids. They are tiny little black bugs that will hang out in groups. Whenever I saw a bunch of them, I would use the hose to spray them off. | WATCH BELOW | And, once I sprayed them with my homemade white oil insecticidal soap spray.
Here’s another video with my white oil recipe.
I would love to hear about your experience with growing garlic or any tips that you have.
Grow with me
See my other garden or wildlife posts.
Get new posts in your inbox by subscribing.
Follow on Instagram.



No Comments